HUB 06 · Buying Guides & How-To
How to Break In a New Motorcycle Helmet
A new helmet is supposed to be snug, and the liner does settle with use. The skill is telling normal break-in apart from a helmet that is simply the wrong size or shape - because one fixes itself and the other never will.
We earn a commission when you buy through our Amazon links, at no extra cost to you. It never changes a ranking, and we tell you when the cheaper helmet is the better buy. How this works.

A new motorcycle helmet should feel tight but not painful, and it will loosen slightly as the comfort padding compresses to the shape of your head. Published guidance puts that break-in period at roughly 15 to 20 hours of riding, which for most riders is two or three weekends. Nothing you do speeds that up dramatically, and the methods that promise to are the ones most likely to damage the liner - so the real job on this page is telling ordinary break-in apart from a helmet that is the wrong size or the wrong shape, because that second helmet will never get comfortable and should go back.
One thing to be clear about before anything else: only the comfort padding breaks in. The EPS layer underneath it is the crush structure that manages an impact, and it is not supposed to give at all. Every technique below is aimed at the soft liner and cheek pads. Anything that presses hard enough to deform what is behind them is not breaking a helmet in - it is wearing out the part you bought the helmet for.
What a correctly fitted new helmet feels like
Snug all round, with even pressure and no single point digging in. Harley-Davidson's fit guidance is the clearest short version we have found: a helmet should be "snug, but it shouldn't cause pain or create pressure points"; it recommends wearing one for at least 15 minutes before buying, and treats "red marks or indentations on your skin after a short amount of time" as a sign of poor fit rather than a sign of break-in. On sizing between two options it is blunt: "in most cases, you should choose the smaller size as the padding will break in over time."
Translate that into the checks you can run at home. The cheeks should be visibly compressed - a new helmet usually makes you look like you are pulling a face, and that is correct. With the strap done up you should not be able to roll the helmet forward off your head, and when you turn your head the helmet should move with it rather than the skin sliding underneath. The strap itself should sit comfortably snug with minimal slack. Our sizing guide covers the measurement that comes before all of this.
The break-in process, in order
1. Wear it indoors first, in 20-30 minute sittings. This is the single most useful thing you can do, because it is free, it is reversible, and it is how you find out whether you have a pressure point before you have ridden the helmet and lost the ability to return it. Sit down, keep the strap done up, and pay attention to where it presses.
2. Then ride it in short stints. Body heat and sweat soften and settle the padding faster than dry wear at room temperature, so an hour of riding does more than an hour on the sofa. Build up rather than booking a 400-mile day in a helmet you have owned for two days.
3. Wear a thin layer under it while it is at its tightest. A thin balaclava or helmet liner makes a snug new helmet far easier to pull on and off - which is when most people give up on a correctly-sized helmet - and it takes the sweat and hair oil that would otherwise go into a liner you cannot easily wash. It also takes up a little room, so remove it once the helmet has settled if the fit starts feeling loose.
4. Re-check at the 15-20 hour mark, and fix the gap with pads, not patience. If the crown is right but the cheeks have gone slack, that is a cheek-pad swap, not a size change - thicker pads bring a settled helmet back to correct. Our cheek pads and liners guide explains how fit is actually built, and which way to go.
The shortcuts: what works, what to avoid
You will find two popular tricks for forcing a liner to settle overnight. One is stuffing the helmet with a sweatshirt or towel and leaving it; the other is putting a ball inside and inflating it slightly with a hand pump. Both are aimed at the comfort padding and both are reported to work on a stubborn spot. The warning that comes with the second one is the important part, and it is worth quoting: do not inflate the ball to its full capacity, because "doing so could mean pushing the helmet's interior too far and actually compromising it."
Three things we would not do at all. Do not pull padding out to make room - the liner positions your head where the shell was designed to protect it, and a helmet with a thinned-out liner is a looser helmet in a crash, not a roomier one. Do not heat it with a hairdryer, in a car on a hot day or anywhere else; EPS and adhesives are temperature-sensitive, which is part of why helmets age out at all. And do not ride a helmet with a hot spot "until it beds in" - a genuine pressure point is a shape mismatch, and shape does not break in.
Break-in tightness, or the wrong helmet? Three tests
Where does it hurt? Even pressure across the cheeks and crown is break-in. A single point - a band across the forehead, pressure on the brow or a specific spot on the temples - is the interior shape fighting your head shape. That is the classic long-oval head in a round-oval helmet, or the reverse, and it will not resolve. Our head-shape guide explains how to identify yours, and Shoei vs Arai shows how much two premium brands can differ at the same measured size.
How long until it eases? Discomfort that noticeably improves across the first few rides is break-in. Pain that is identical at hour fifteen to hour one is the wrong helmet. Red marks or indentations that are still appearing after a short wear once the helmet is supposedly broken in belong in the same column.
Is it a headache? Persistent pressure headaches from a new helmet are not something to tough out - they are the sign that the shape is wrong, and the answer is a different helmet rather than a longer break-in. If you have a wider or larger head, start from our big-head picks, which lead on helmets with several real shell sizes rather than one shell padded out.
The other direction: when a helmet has broken in too far
Break-in does not stop at twenty hours; the padding keeps compressing slowly for as long as you own the helmet, and that is why a three-year-old lid can feel roomy when it was once snug. A looser helmet is not automatically unsafe, but a helmet that can shift or roll on your head has given away the fit its certification assumed. Replace the cheek pads first - that is what they are for. If the crown has gone too, it is time to read our replacement guide: most manufacturers recommend replacing a helmet every three to five years in normal use, and any significant impact retires it immediately regardless of how new it is.
And while you are breaking a new helmet in, treat the new visor properly from day one. Household glass sprays and paper towel are what turn a clear shield hazy inside six months - our cleaning guide covers what to use instead, and the fogging guide covers the Pinlock insert worth fitting before your first cold morning.
Low-cost add-ons
Small stuff that actually helps
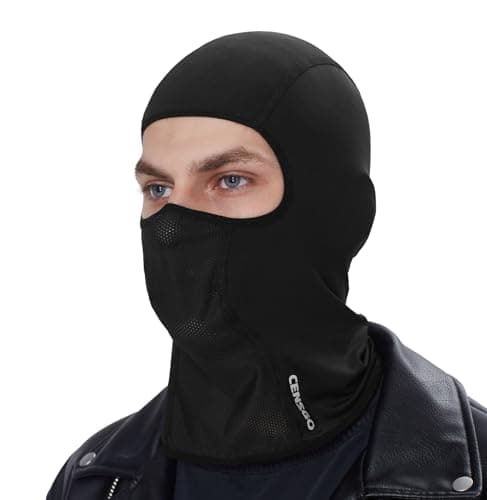
Keeping the liner clean and fine-tuning a slightly loose fit
CENSGO Motorcycle Balaclava / Helmet Liner
A thin under-helmet layer that keeps sweat and hair oil out of a liner you cannot easily wash — and takes up just enough room to settle a helmet that sits a shade loose.
Skip it if your helmet is already at the tight end of correct — a balaclava does not help in that direction, and cheek pads are the proper adjustment.
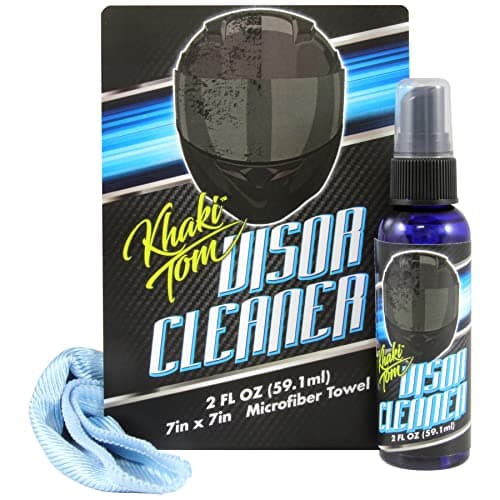
Routine shell and visor cleaning
Khaki Tom Motorcycle Helmet & Visor Cleaner
A helmet-and-visor-specific cleaner that ships with its own microfiber towel — the safe alternative to the household glass spray that quietly wrecks a visor coating.
Skip it if you only ever need to shift light road film — warm water and a mild shampoo already does that, and this is for the times it does not.
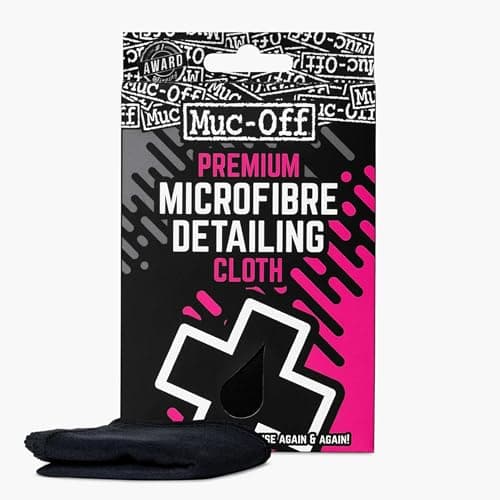
Visor wipe-downs without micro-scratching
Muc-Off Microfiber Detailing Cloth
A known motorcycle-care brand's microfiber cloth, sold for helmets, visors and goggles. Unglamorous, and the item most likely to save your visor from the scratches paper towel leaves.
Skip it if you already keep clean, dedicated microfiber cloths for the visor — this adds nothing over one you own.
#ad · Prices as of October 21, 2026, pulled live from Amazon; where we have no verified price we show none. We may earn a commission.
Questions
Frequently asked
How long does it take to break in a motorcycle helmet?
Should a new motorcycle helmet feel tight?
How can I break in a helmet faster?
How do I know if my helmet is too small or just needs breaking in?
Should I remove padding to make a tight helmet fit?
Keep reading
Related
- How to measure your helmet sizeThe measurement that comes before any break-in.
- Cheek pads and liners explainedThe legitimate way to adjust a settled helmet.
- Helmet head shapes explainedShape does not break in - this is how to find yours.
- When to replace a helmetWhat to do when it has broken in too far.
- How to clean your helmetLooking after a new liner and a new visor.
- Best helmets for big headsWhere to start if nothing standard fits.
Receipts
Sources
- Harley-Davidson - motorcycle helmet fit and size guide (snug without pressure points, 15 minutes in-store, choose the smaller size as padding breaks in, red marks indicate poor fit, chin strap with minimal slack)
- RaceLeathers - do helmets get looser over time (break-in of about 15-20 hours of riding; padding continues to compress; replacement at 3-5 years)
- SlashGear - how to break in a motorcycle helmet quickly (sweatshirt and inflated-ball methods, and the warning not to inflate fully)
- Snell Memorial Foundation - FAQ on helmet life, fit and replacement
- NHTSA - choosing the right motorcycle helmet
We do not run a crash lab, and we do not pretend to. Certifications are cited to the standards body or the manufacturer's stated homologation; where a US model's certification differs from its European namesake, we say so. Where we could not verify something, we say so on the page rather than quietly leaving it out. Read our full method.